

How to enhance the curl effect of a classic eyelash curler?
Leave a message

Enhancing the curl effect of a classic eyelash curler is a pursuit for many beauty enthusiasts. As a supplier of classic eyelash curlers, I've witnessed firsthand the transformative power of a well - curled lash. In this blog, I'll share some professional tips and insights on how to make the most of your classic eyelash curler.
Understanding the Basics of a Classic Eyelash Curler
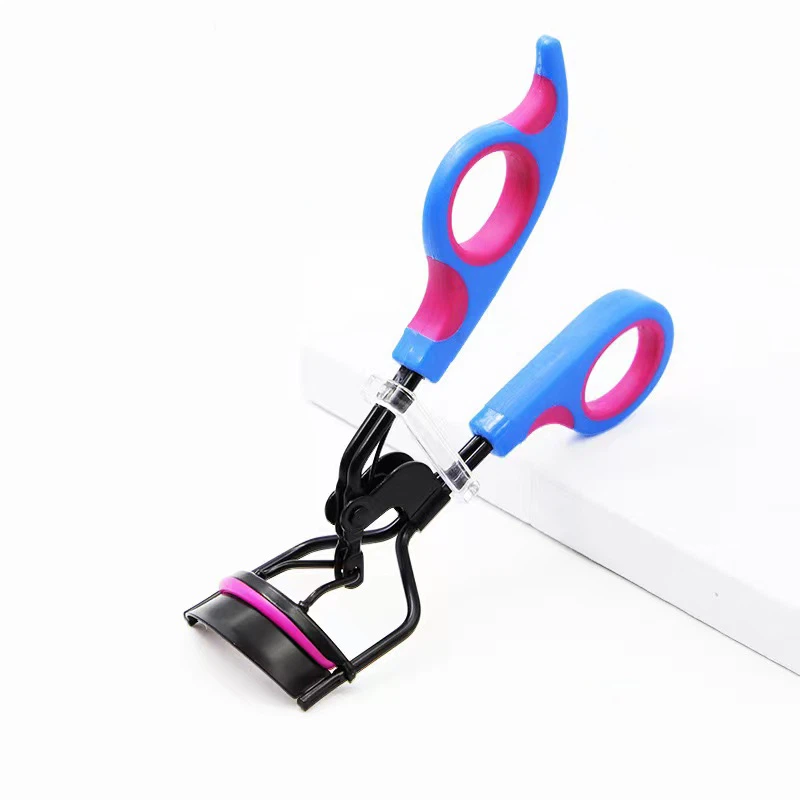
Before diving into the techniques, it's essential to understand the components of a classic eyelash curler. A typical eyelash curler consists of two metal or plastic arms, a pad, and a curved metal or plastic plate. The pad provides a cushion for your lashes, while the plate curls them. When you squeeze the arms together, the lashes are trapped between the pad and the plate, creating a curl.
There are different types of classic eyelash curlers available in the market. For instance, the Natural Curl Classic Eyelash Curler is designed to give a more natural - looking curl. It has a unique curvature that mimics the natural shape of the eye, making it easier to achieve a seamless curl. On the other hand, the Built - in Comb Classic Eyelash Curler comes with a built - in comb that helps to separate and straighten the lashes before curling, ensuring a more even and defined curl.
Pre - curler Preparation
The key to a long - lasting and effective curl starts with proper preparation. Here are some steps you can take before using your classic eyelash curler:
Clean Your Lashes
Make sure your lashes are clean and free from any makeup residue, oils, or dirt. You can use a gentle eye makeup remover to clean your lashes thoroughly. This not only helps the curler to grip the lashes better but also prevents any irritation or damage to the delicate eye area.
Warm Up the Curler
Some people find that warming up the eyelash curler can enhance the curl effect. You can use a hair dryer on a low setting to gently warm the curler for a few seconds. However, be careful not to overheat it, as it can cause burns to your skin. A warm curler can help to set the curl more effectively, especially if you have stubborn or straight lashes.
Comb Your Lashes
Use a clean lash comb to gently comb through your lashes. This helps to separate any clumped lashes and ensures that they are all facing in the same direction. It also helps to remove any leftover mascara clumps, which can interfere with the curling process.
The Curling Technique
Once you have prepared your lashes, it's time to start curling. Here's a step - by - step guide on how to use a classic eyelash curler properly:
Position the Curler Correctly
Open the eyelash curler and place it as close to the base of your lashes as possible. Make sure the pad is touching the roots of your lashes and the plate is just above them. Tilt your head back slightly and look up, so that the curler is parallel to your lash line. This ensures that you get the maximum curl at the base of your lashes.
Squeeze Gently
Squeeze the arms of the eyelash curler slowly and gently. Hold the curler in place for about 5 - 10 seconds. Avoid squeezing too hard, as it can cause discomfort and even damage to your lashes. If you have sensitive eyes, you may want to start with a lighter squeeze and gradually increase the pressure.
Work in Sections
If you have long or thick lashes, you may want to work in sections. Start by curling the lashes at the inner corner of your eye, then move to the middle and finally the outer corner. This helps to ensure that all your lashes are evenly curled. You can also give each section an extra squeeze for a more pronounced curl.
Repeat if Necessary
If you're not satisfied with the curl after the first try, you can repeat the process. However, be careful not to over - curl your lashes, as it can cause them to break or become brittle.
Post - curler Tips
After curling your lashes, there are a few things you can do to enhance and maintain the curl:
Apply Mascara
Applying mascara immediately after curling can help to set the curl and make your lashes look longer and fuller. Choose a mascara that is specifically formulated for volume or curl. Wiggle the mascara wand at the base of your lashes and then pull it through to the tips. This helps to coat the lashes evenly and gives them a more dramatic look.
Use a Lash Primer
A lash primer can be a great addition to your lash - curling routine. It helps to condition your lashes and provides a better base for mascara. Apply the lash primer before using the eyelash curler and then follow up with mascara. This can make your lashes look thicker, longer, and more curled.
Avoid Rubbing Your Eyes
Once you have curled and mascaraed your lashes, try to avoid rubbing your eyes. Rubbing can cause the curl to lose its shape and can also lead to mascara smudging. If you need to touch your eyes, use a gentle touch and be careful not to disturb the lashes.
Maintaining Your Classic Eyelash Curler
To ensure that your classic eyelash curler continues to work effectively, it's important to maintain it properly. Here are some tips on how to take care of your eyelash curler:
Clean the Pad Regularly
The pad of the eyelash curler can accumulate mascara, oils, and dirt over time. This can affect the performance of the curler and even cause irritation to your eyes. To clean the pad, remove it from the curler (if possible) and wash it with warm, soapy water. Let it dry completely before reattaching it to the curler.
Replace the Pad When Necessary
Over time, the pad of the eyelash curler can wear out. A worn - out pad may not grip the lashes properly, resulting in a less effective curl. Replace the pad every few months or as soon as you notice that it's starting to look worn or lose its elasticity.
Store the Curler Properly
Store your eyelash curler in a clean, dry place. Avoid leaving it in a humid environment, as it can cause rust or damage to the metal parts. You can also keep it in a protective case to prevent it from getting scratched or damaged.
Troubleshooting Common Issues
Even with the best techniques, you may encounter some issues when using a classic eyelash curler. Here are some common problems and how to solve them:
Lashes Don't Curl
If your lashes don't curl, it could be because the curler is not positioned correctly or the pad is worn out. Make sure the curler is placed at the base of your lashes and the pad is clean and in good condition. You can also try warming up the curler or using a different curling technique.
Lashes Break or Fall Out
If your lashes break or fall out while using the eyelash curler, it could be because you're squeezing too hard or using a dirty curler. Be gentle when squeezing the curler and make sure it's clean. You can also try using a lash serum to strengthen your lashes.
Uneven Curl
An uneven curl can be caused by improper positioning of the curler or clumped lashes. Comb your lashes before curling and make sure the curler is parallel to your lash line. Work in sections to ensure that all your lashes are evenly curled.
In conclusion, enhancing the curl effect of a classic eyelash curler requires a combination of proper preparation, the right technique, and good maintenance. By following the tips and techniques outlined in this blog, you can achieve a beautiful, long - lasting curl that enhances your overall look.
If you're interested in purchasing high - quality classic eyelash curlers for your beauty business or personal use, I encourage you to reach out for a procurement discussion. We offer a wide range of classic eyelash curlers that are designed to meet your specific needs and preferences.

References
- "The Beauty of Eyelash Curling: A Guide to Perfect Lashes" by Jane Smith, Beauty Magazine, 2022.
- "Eyelash Curling Techniques and Tips" by Sarah Johnson, Cosmetics Journal, 2021.


